Introduction
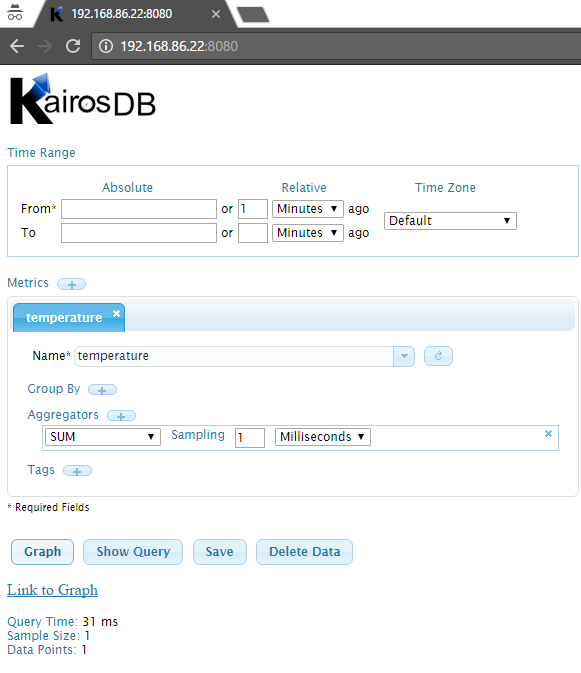
This blog will serve as a tutorial on how to transmit and visualize the temperature data coming from your Raspberry Pi over to your GridDB server. We will be using GridDB as our backend database and then the KairosDB GridDB Connector to gather the data and visualize. The scope of the tutorial will go over how to install both GridDB and KairosDB and how to automatically transmit the temperature data. Here’s an example of my temperature data (the temperature was posted every minute).

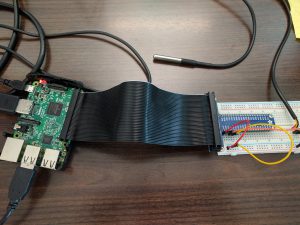
There are many tutorials which cover the first portion of the project the buying, building, and implementing of temperature sensors so we will not go over that here. The tutorials used to get started can be found here and here. The first link goes over the physical portion — parts needed to be purchased/how to physically put together the temp sensor — and the second delves into more detail on the software side. To follow along with this GridDB tutorial, you will need to get through the first page of Harry’s tutorial, which will get you as far as having a python script printing out the temperature sensor reading.
A Raspberry Pi 3 was used for this project, but any of them will do as none of this is very intensive.
Installing GridDB
With your Pi properly reading and printing out the temperature, we need to build our GridDB server. Fire up a CentOS 6.7 machine (6.8 works too) and download GridDB’s community edition rpm and install.
$ su
# rpm -ivh griddb_nosql-X.X.X-linux.x86_64.rpm
Preparing...                ########################################### [100%]

------------------------------------------------------------
Information:
  User gsadm and group gridstore have been registered.
  GridDB uses new user and group.
------------------------------------------------------------

   1:griddb_nosql           ########################################### [100%]
Installing GridDB on your machine will create some directories and a user called “admin”. We must switch over to the “admin” user when we want to conduct our GridDB commands. The directories created are: 1. /var/lib/gridstore/ 2. /usr/griddb-X.X.X/ We need to add a password to the user admin as one is not set upon creation.
# gs_passwd admin
Password:Input password
Retype password:Input password again
Now let’s fire up a one-node cluster to make sure our GridDB is running properly. First we need to set up some paths.
# export GS_HOME=/var/lib/gridstore
# export GS_LOG=/var/lib/gridstore/log
Download the Oracle JDK (the Linux x64 RPM pacakge) from:
http://www.oracle.com/technetwork/java/javase/downloads/jdk8-downloads-2133151.html
# export JAVA_HOME=/usr/java/default
# export CLASSPATH=${CLASSPATH}:/usr/griddb-3.0.0/bin/gridstore.jar
# export no_proxy=127.0.0.1
# service iptables stop
Now that we’ve run these commands, let’s start up our first node.
# cd $GS_HOME
# nano conf/gs_cluster.conf
  #    "clusterName":"temperature" #
ctrl+X and save changes. And now we can run the commands to start up your node and have it join your newly-named cluster.
# su gsadm
$ /usr/bin/gs_startnode
$ /usr/bin/gs_joincluster -c your_clustername -u admin/your_password
You can run one of GridDB’s built-in commands to view your cluster’s properties.
$ /usr/bin/gs_stat
It is recommended to run the sample app from GridDB’s github page to make sure your GridDB is operational.
Once we confirm GridDB works, we can focus on installing and implementing KairosDB. After KairosDB is installed it’s simply a matter of using the REST API to POST the sensor data to GridDB.
Installing the KairosDB Connector
Switch back to the root user to download and install both KairosDB and the GridDB Connector.
Download the KairosDB GridDB Connector, and then run the following commands to download KairosDB into your home directory.
# cd ~
# curl -O --location https://github.com/kairosdb/kairosdb/archive/v1.1.1.tar.gz
# tar xfvz v1.1.1.tar.gz
# cd kairosdb-1.1.1
We’ll need to copy the GridDB Connector to the KairosDB src folder
# cp -r <src/main/java/org/kairosdb/datastore/griddb folder in GridDB connector> src/main/java/org/kairosdb/datastore/
Now we need to change some configuration files in the KairosDB directory. First, edit the ivy.xml file. Paste the following lines somewhere in the file.
<!-- https://mvnrepository.com/artifact/org.apache.commons/commons-pool2 -->
<dependency org="org.apache.commons" name="commons-pool2" rev="2.0"/>
Next, edit the logback.xml file and add this line.
# nano src/main/resources/logback.xml
<logger name="com.toshiba.mwcloud.gs.GridStoreLogger" level="INFO"/>
Finally we can modify the file that will tell KairosDB we would like to use GridDB as our backend.
# nano src/main/resources/kairosdb.properties
#kairosdb.service.datastore=org.kairosdb.datastore.h2.H2Module
kairosdb.service.datastore=org.kairosdb.datastore.griddb.GriddbModule
Make sure you comment out the default backend H2Module and add in an uncommented GridDB. Now add the following lines to the very bottom your file.
#===============================================================================
 #GridDB properties
 kairosdb.datastore.griddb.cluster_name=<GridDB cluster name>
 kairosdb.datastore.griddb.user=<GridDB user name>
 kairosdb.datastore.griddb.password=<GridDB password>
 #Define address and port for multicast method, leave it blank if using other method
 kairosdb.datastore.griddb.notification_address=239.0.0.1
 kairosdb.datastore.griddb.notification_port=31999
 #Define nodes fixed list method, leave it blank if using other method, node list is in the form> 1.1.1.1:10001,1.1.1.2:10001
 kairosdb.datastore.griddb.notification_member=
 #Define url for provider method, leave it blank if using other method
 kairosdb.datastore.griddb.notification_provider_url=
 kairosdb.datastore.griddb.consistency=
 kairosdb.datastore.griddb.container_cache_size=
 kairosdb.datastore.griddb.data_affinity_pattern=
 kairosdb.datastore.griddb.failover_timeout=
 kairosdb.datastore.griddb.transaction_timeout=
 kairosdb.datastore.griddb.datapoint_ttl=0
 kairosdb.datastore.griddb.max_data_cache_size=50000
 kairosdb.datastore.griddb.max_write_buffer_size=500000
 kairosdb.datastore.griddb.number_request_concurrency=100
 kairosdb.datastore.griddb.write_delay=1000
 kairosdb.datastore.griddb.write_buffer_datapoint=8
Make sure you fill in the parameters that need to be filled in (cluster name, user, password) and refer to
configuration for information the rest of GridDB’s properties. For this tutorial, we will keep all values at default. Now we need copy our gridstore.file over to our lib/ directory.
# cp /usr/share/java/gridstore.jar $PWD/lib/
After all of this, your KairosDB Connector should be able to run.
Running GridDB + The KairosDB Connector
If you’ve been following along step-by-step, your GridDB cluster should already be running. Now we want our KairosDB up and running as well. To do this, run the following command in the KairosDB directory
# java -cp tools/tablesaw-1.2.2.jar make run
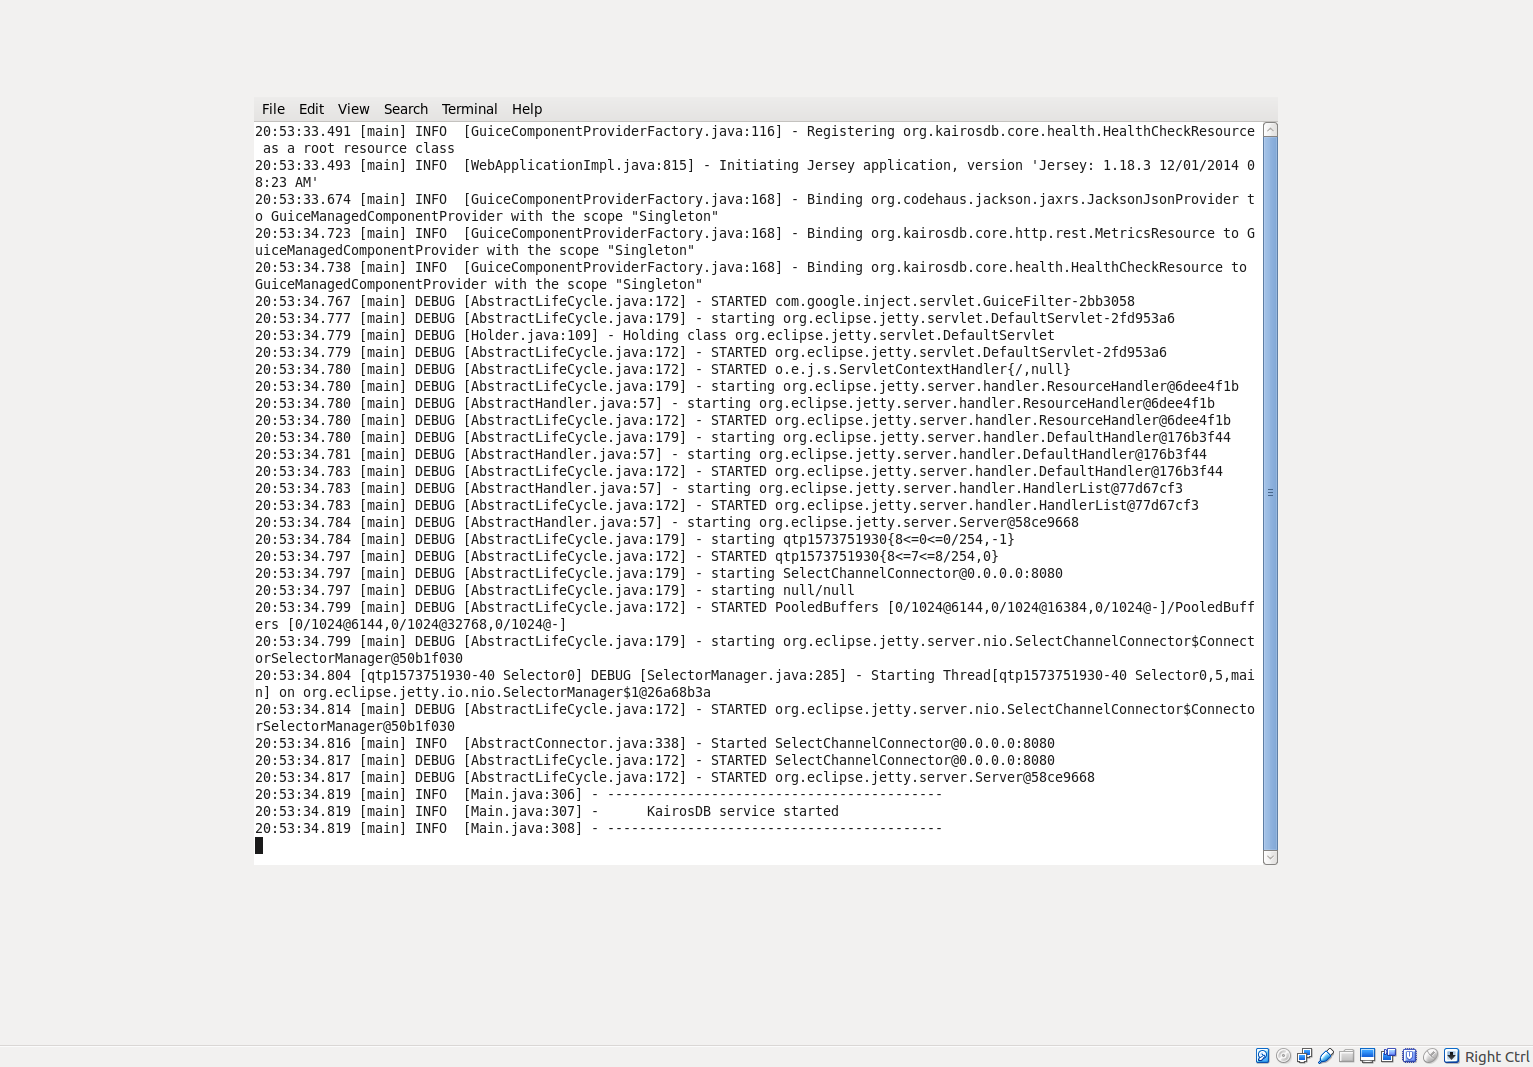
If all goes well, you’ll see a message within the terminal indicating KairosDB has started. This terminal will be kept open to run KairosDB, so you’ll need to open up a fresh terminal to continue to use the command line.

The screenshot above shows KairosDB successfully running in my CentOS Virtual Machine.
Congrats, all of the backend work is now done. The last thing we need to do is modify Harry’s python script to POST via the REST API and then use Harry’s cron job to POST new thermal readings to our server every 5 minutes.
Configuring the Raspberry Pi
Before we modify our python script, we need to install the requests python library so that we may send HTTP requests. The latest release of Raspbian has pip installed, so simply SSH back into your Pi and run:
# pip install requests
Now it’s time to edit our temperature_sensor_code.py file. KairosDB deals with time data in milliseconds since Unix Epoch, so our script will convert our time data into milliseconds and have our script conduct our HTTP POSTs for us.
#!/usr/bin/env python

import os
import glob
import time
import requests

os.system('modprobe w1-gpio')
os.system('modprobe w1-therm')

base_dir = '/sys/bus/w1/devices/'
device_folder = glob.glob(base_dir + '28*')[0]
device_file = device_folder + '/w1_slave'
millis = int(round(time.time() * 1000))
url = 'http://<your_CentOS_IP>:8080/api/v1/datapoints'

def read_temp_raw():
    f = open(device_file, 'r')
    lines = f.readlines()
    f.close()
    return lines

def read_temp():
    lines = read_temp_raw()
    while lines[0].strip()[-3:] != 'YES':
        time.sleep(0.2)
        lines = read_temp_raw()
    equals_pos = lines[1].find('t=')
    if equals_pos != -1:
        temp_string = lines[1][equals_pos+2:]
        temp_c = float(temp_string) / 1000.0
        temp_f = temp_c * 9.0 / 5.0 + 32.0
        payload = {'name':'temperature', 'timestamp':millis, 'value':temp_f, 'tags':{'sensorNo':'1'}}
        return requests.post(url, json = payload)

while True:
        print(read_temp())
        break
Make sure you change the url variable to match the IP address of your CentOS machine. The rest of the URL is where KairosDB accepts its data requests. For the payload, you can change the parameters however you see fit; you can, for example, change the temperature to Celsius instead of Fahrenheit. KairosDB does require at least one “tag” in the dataset, but it can be whatever you want. The very first line of the script tells our Pi that this code is a python script; now we need to change some permissions to make it executable.
# chmod +x temperature_sensor_code.py
Let’s make sure the script is
actually executable.
# ./temperature_sensor_code.py
(Response [204])
An HTTP response of 204 is good, it means the POST was successful. You can be sure your data is being correctly sent to your server by opening up your browser and visiting the following link http:
Scheduling Automatic POSTs
Next we’ll borrow from Harry’s Tutorial part 3 and use Unix’s built-in task scheduler: cron.
# crontab -e
At the very bottom of the file, add the following line
*/5 * * * * /home/pi/tempLog/temperature_sensor_code.py
You can schedule a variety of tasks to run at the timing of your choice. With this particular line, we’re telling our Pi to run our python script every 5 minutes. You can modify as you deem necessary. Congratulations! You now have up to date temperature data being stored on your GridDB server with the ability to query the results into attractive charts.
If you have any questions about the blog, please create a Stack Overflow post here https://stackoverflow.com/questions/ask?tags=griddb .
Make sure that you use the “griddb” tag so our engineers can quickly reply to your questions.


